The Ortur Laser Master 2 15w is by far the cheapest and simplest laser cutter I've used. Arriving in a relatively small box with a variety of pre-assembled parts, it takes between 15 and 20 minutes to build, and there's nothing complex or difficult in the process.
Any form of interface is noticeably missing, and it requires a constant wired connection to a computer to get the Ortur working. This connection is easy enough, and once compete, everything starts to look very promising.
Design
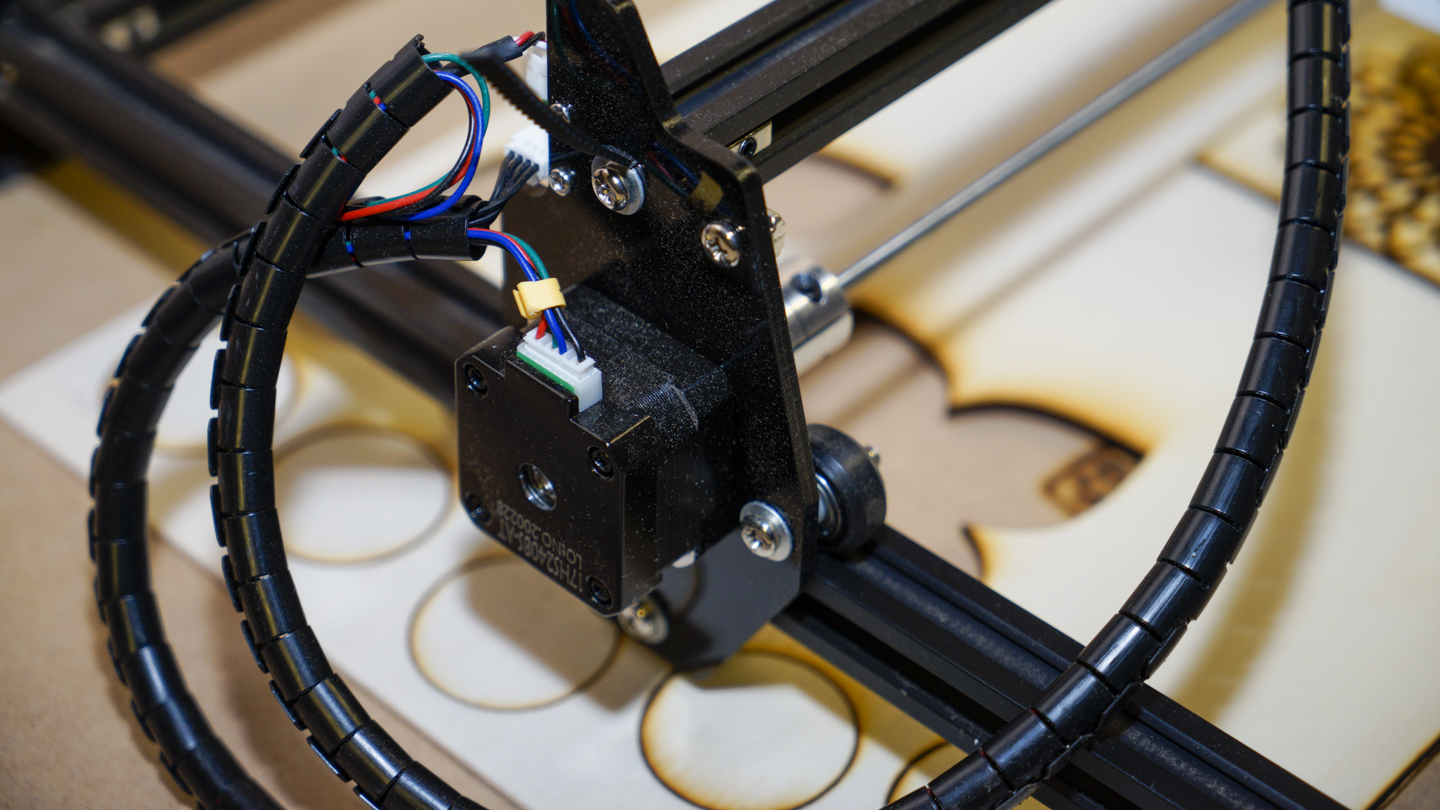
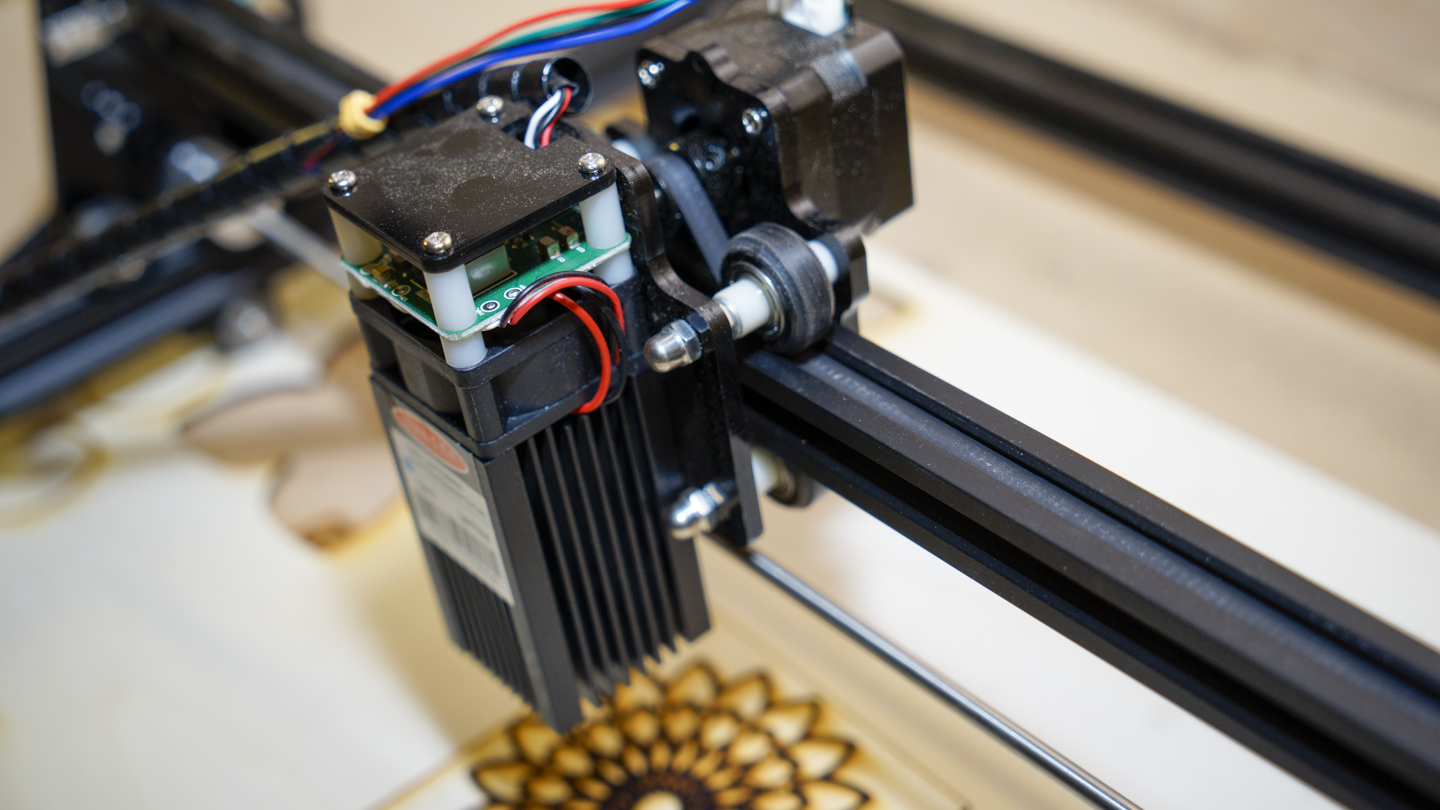
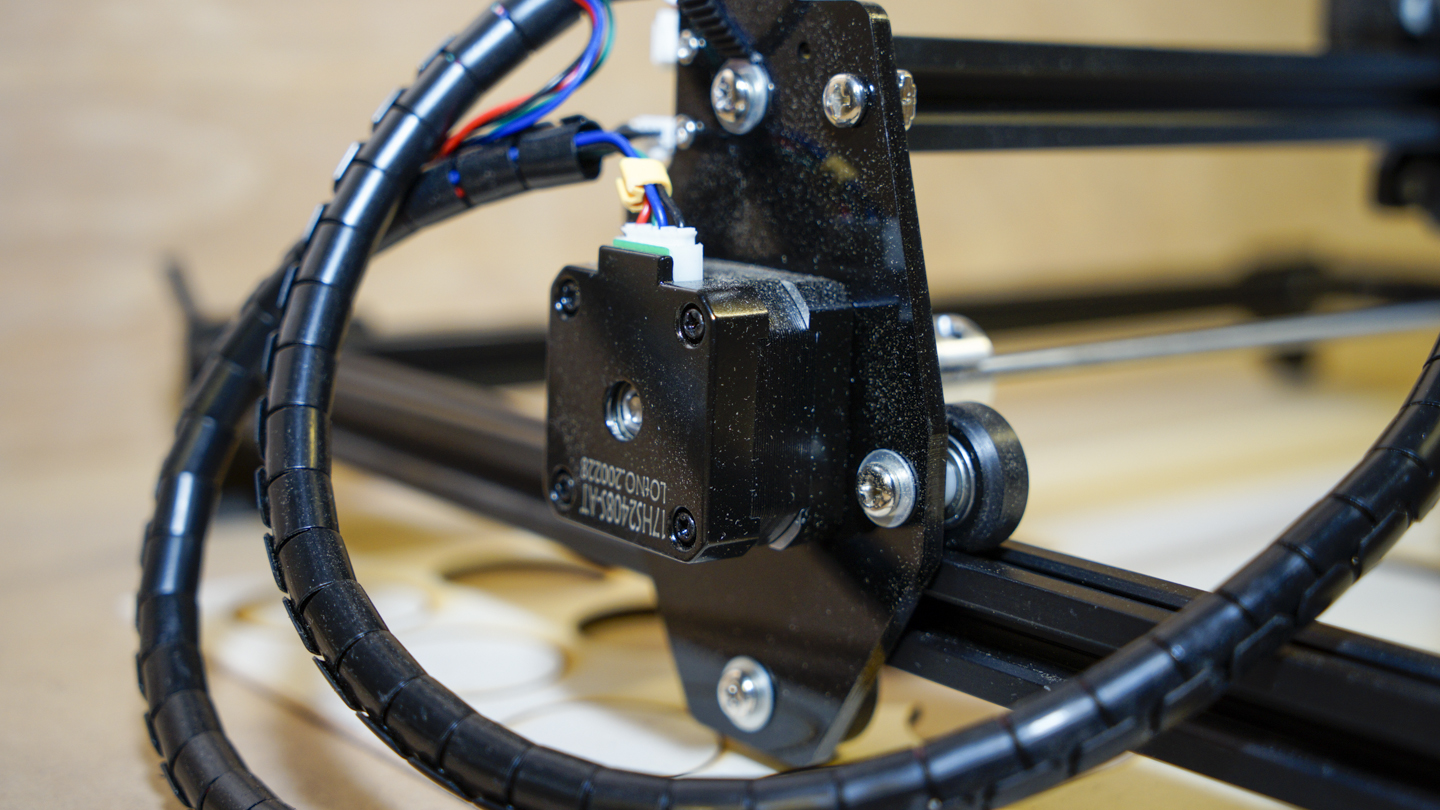
You have simple, and then you have the Ortur Laser Master 2. It's essentially a square frame of bolted together extruded tube with the laser module mounted on runners on top. This enables the X and Y-axis movement of the tool head across the work area, all controlled by the computer connected 32-bit mainboard and two stepper motors.
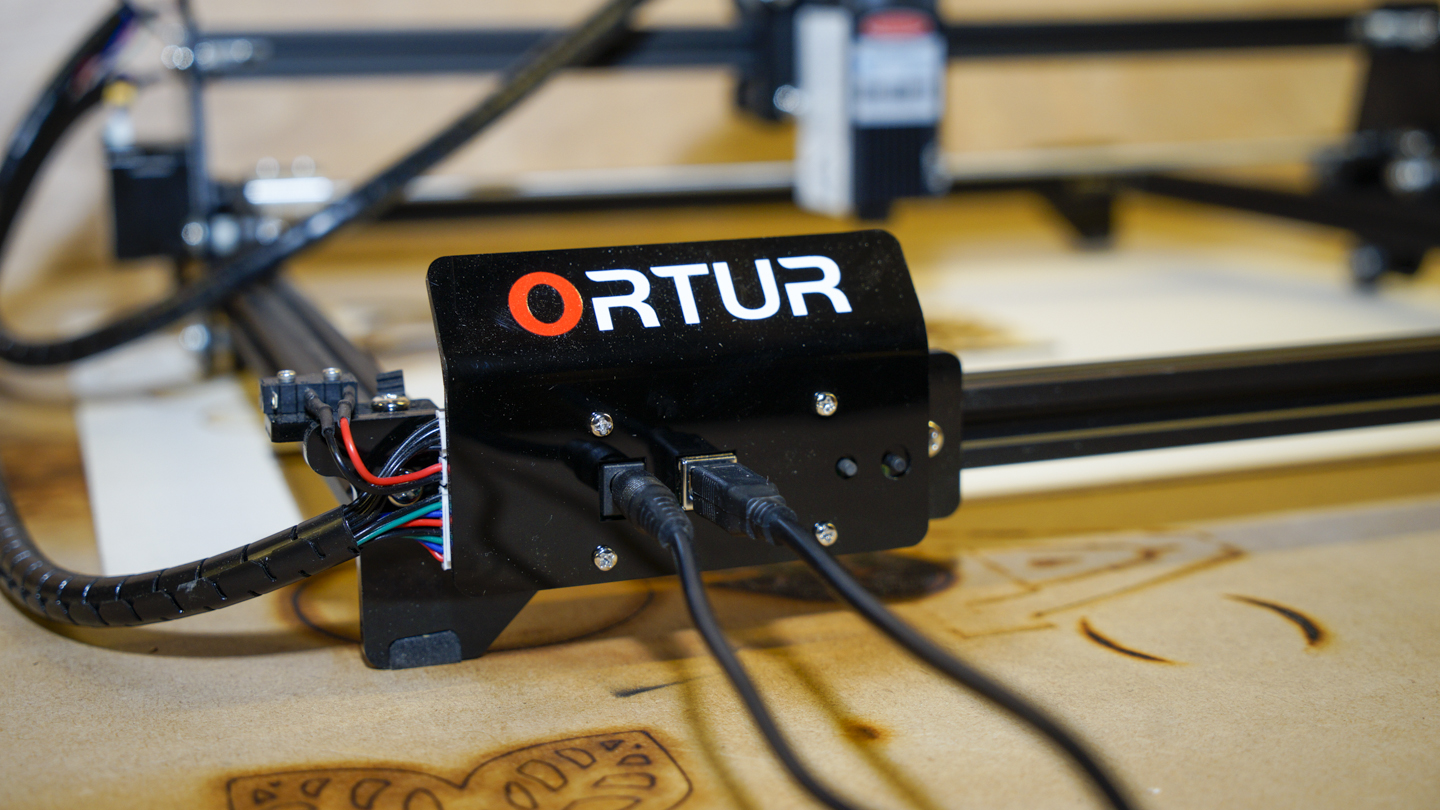
The design is simplistic; you have the mechanical hardware and then the control board. This control board features the power socket and USB port alongside two buttons that power on or kill the power, and that's it.
To control and upload files, the Ortur needs to be plugged into a computer, Mac, PC or Linux running software that's compatible with the system.
As the system is designed around open source designs and code, there's a good amount of software that's compatible and in this test, I used Lasergrbl.
Like many cheap maker machines, the Ortur requires a continued direct connection to computer that needs to stay alive during the engraving or cutting process.
There's no protective screen, so when the machine is fired up, it's best not to be in the same room as the Ortur. If you are, then you need to wear protective glasses which are provided.
Features
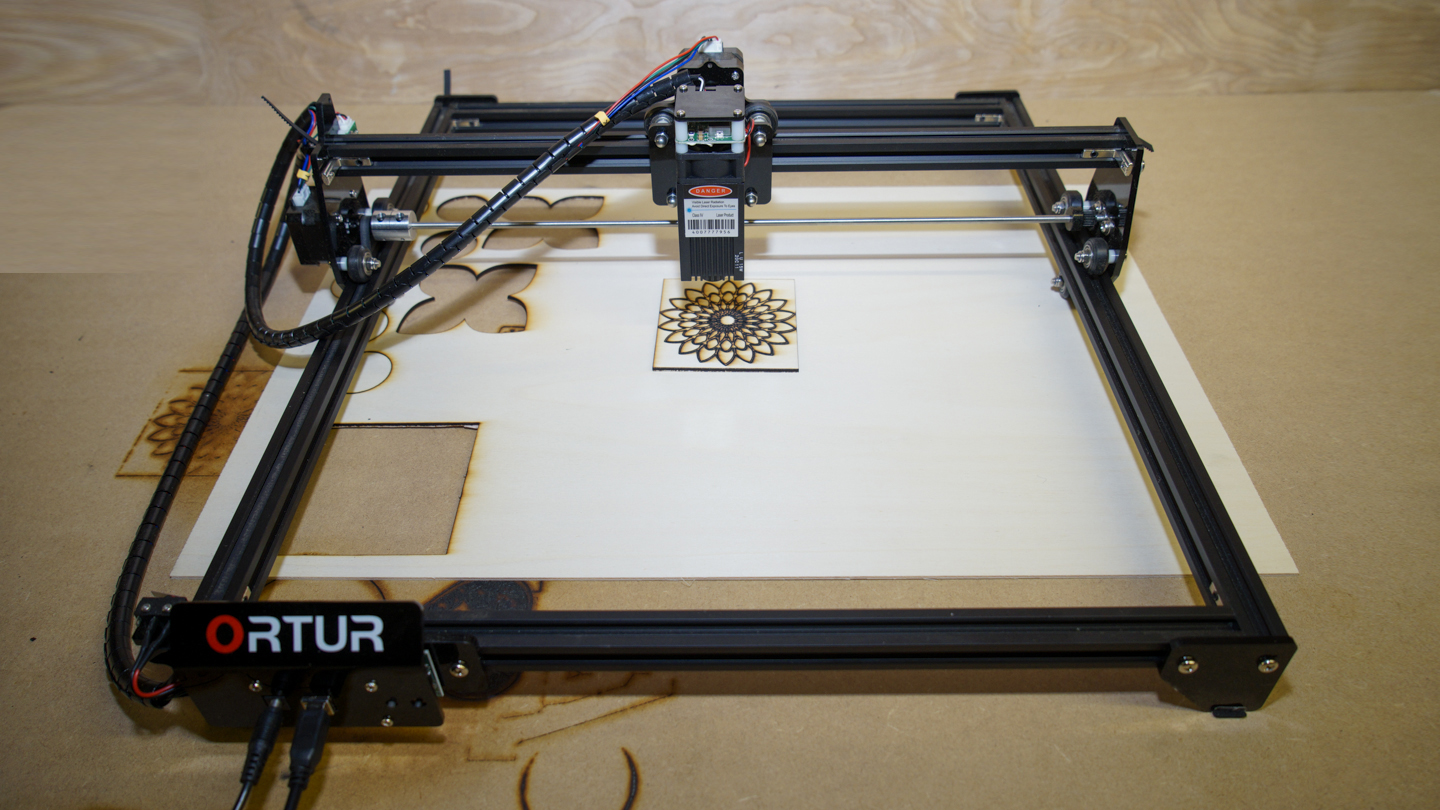
The big feature of the Ortur Laser Master 2 is the large engraving area at 400mm x 430mm, that's quite impressive for a machine of this price.
While the design is simple, and safety might not seem like a major consideration due to the open design, the company has built-in three clever safety features.
Spec Sheet
These are the full specs of the Ortur Laser Master 2:
Working area: 400mm x 400mm
Memory: Direct connection to a computer
Laser Power: 15w
Wave Length: 445 ± 5nm
Bed: None
Input file format: NC, BMP, JPG, PNG, DXF, etc.
Software: Open Source software Lasergrbl
Materials: Wood, Metal, plastic and more
Carving Speed: 3000MM / Min and less
The first is the Active Position Protection which is activated by a built-in G-Sensor. If the machine is knocked or moved then the laser automatically cuts out.
Likewise, if you disconnect the USB for any reason, the laser will stop. Finally, if you've manually switched the laser on but don't for any reason move the tool head, again the laser will cut out after a few moments of inactivity.
Although simple, the Ortur benefits from a powerful 32-bit motherboard. This enables fast smooth carving, which is far superior to many 16-bit models. The spec of the motherboard is based around the STM32 MCU chipset which enables <3000mm/min engraving speed, S0-S1000 Laser power, 445+-5nm laser wavelength and 921600 Baud.
Pixel accuracy is what defines the laser cutters quality, and here the Ortur boast a 300pixels per inch or about 0.81um, which is impressive.
Setup overview
Opening the box, which in itself is relatively small, the Ortur Laser Master 2 is carefully laid out within. If you're experienced with building such things, it will take between 10-20 minutes, if not, then even the most inexperienced should have the construction complete within 30-40 minutes.
Once completed, the machine can be plugged into a computer and your choice of software loaded. In this test, I found that Lasergrbl was by far the easiest software to use.
At this point, the quality of the documentation has to be mentioned, like the machine its simple enough but very easy to follow. After the first suggested software, LightBurn failed to work on either Mac or PC I switched to LaserGRBL, and everything on the Windows system was relatively straight forward.
A custom button set is downloaded and installed into the software, the machine connected easily once powered up, and everything was ready to go.
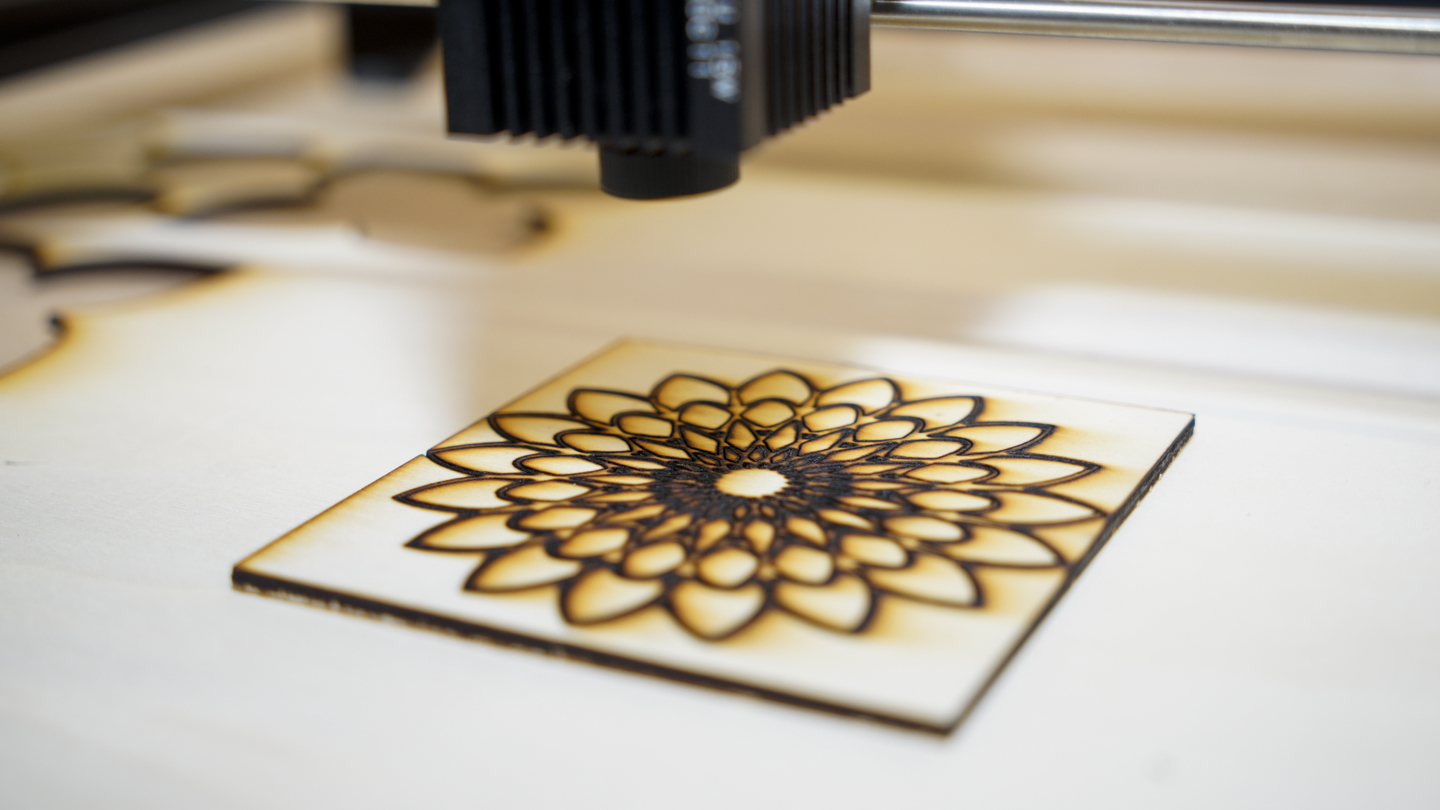
After checking the configuration and running the first test, everything seemed good. The first laser test using the etching mode works well, and from a distance, the result was impressive considering the price.
Switching over to cutting and the power of the laser was instantly apparent, some fine-tuning of the focus was made, along with adjustments to speed, laser power and the number of passes. After a good hour or maybe two of fine-tuning I felt the results were as good as they were going to get.
Performance
From the outset, it's obvious that the Ortur is a budget laser cutter, and as such, there is far less flexibility over settings. Whereas the likes of the superb SnapMaker 2.0 handles much of the process for you, with the Ortur, the quality of the prints is solely down to the quality of your setup.
After the initial standard setup results were OK but lacking in many areas, there was variable depth with the engraving and far too much scorching around the cuts.
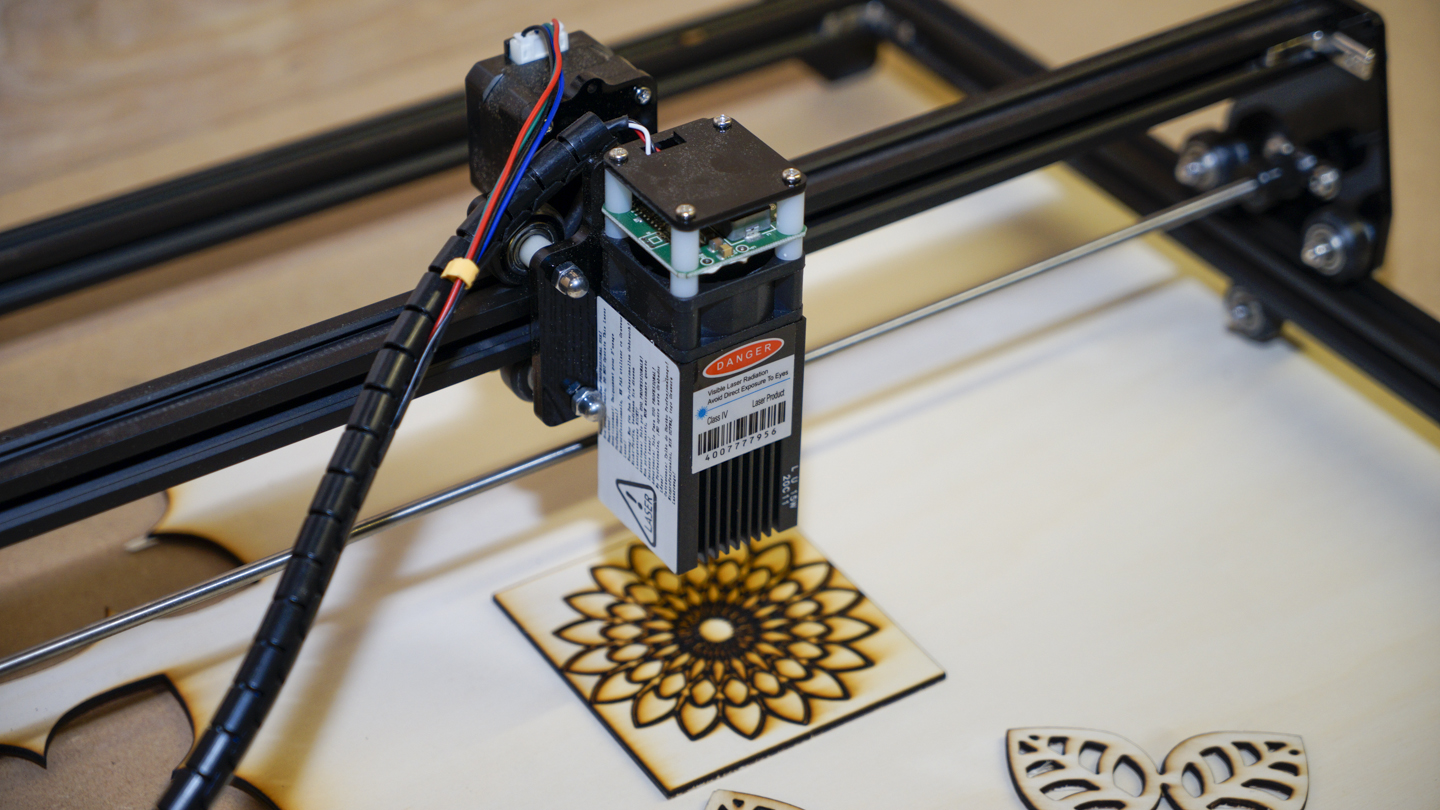
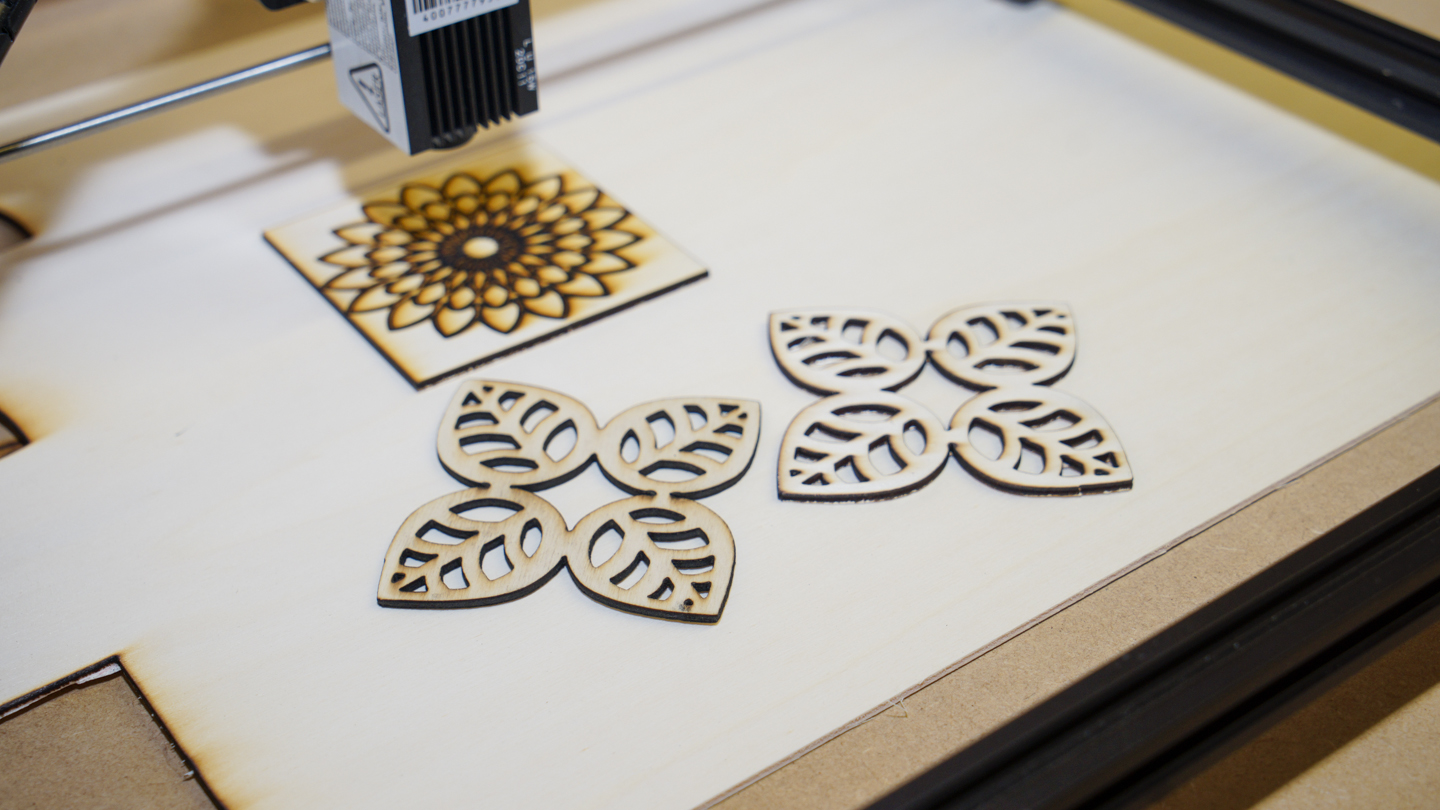
Used as a cutter with 3mm ply the head incinerated the first design leaving a burnt hole and some ash. A slight tweak and things improved, and the machine's potential was starting to become apparent.
Clamping the machine down was something that I did early on, the extra rigidity helped with the axis accuracy. Also tweaking the focus by turning the laser tool head lens improved the definition of the cut, and the machine was transformed.
Once these refinements were made, the next set of tests got better with every tweak, reducing the laser power and speed, keeping the passes to no more than three and finally, some impressive results were achieved.
It's worth noting that while LaserGRBL is good, it is open-source, so get your image or vector files ready before the import.
Then in the software, choose how the file will be rendered depending on carving or cutting and select the options that are best suited. For cutting, you need to trace the edges, either as lines around every edge or within the centre.
If you've never laser cut before there's a steep learning curve if you have laser-cut before, at school, work or otherwise you'll have probably used a machine that is a little more hands-off. This is a tool that you'll need to experiment with to get the best out of.
Carving and cutting quality
When the Ortur Laser Master 2 arrived, I wasn't expecting much. The design was simple, and while that meant there wasn't much that could go wrong, it also meant that there wouldn't be the usual hoast of auto features that make things easy.
Features such as a camera, so you know exactly where the laser will cut, although the boundary features in LaserGRBL does highlight the cutting boundary.
Then there's a way to adjust the very hands-on focus, and as this has a direct effect on cutting quality, it needs to be spot on.
As it was, when the Ortur arrived and was first built, the carving was OK, but the cutting just incinerated designs rather than cutting. After referring to the manual and then checking the laser focus, I located the issue and slowly adjusted until correct, after that the Ortur transformed.
Starting with the X Y accuracy and this is pretty good and differs across the carving area. The closer to the bottom left where the control board is, the more accurate the cut or carve.
Move towards the middle and that accuracy does drop slightly, for most designs the inaccuracy is not an issue, it's less than a mm and can easily be rectified when finishing with a bit of sandpaper. When it comes to carving that accuracy is hardly noticeable.
Clamping the corners of the machine down improved the robustness of and the quality of carving and engraving at faster speeds.
Keeping the speed slow and steady gained the best results by far as it put less strain on the frame.
Slowing down the speed of the machine improved cutting and engraving quality, and lowing the power of the laser for down to S750 seemed to gain the best results although required an extra pass or two.
During the test, I used 3mm Plywood as my material of choice and was able to get some excellent results. I also used paper and card for cutting, and again, the cut accuracy was generally good.
At present, there is a wait on laser grade materials especially ply. You can use standard ply but the results won't be as good due to the layering and glue used.
The main issue was getting the right balance of speed and power. For the price and simplicity, this thing packs in far more power than you would expect.
Final verdict
At the price, the Ortur Laser Master 2 is outstanding as long as you make sure that you carefully follow the instructions when building, then there is very little to go wrong.
If the focus isn't spot on, then it is easy to adjust if slightly nerve-wracking as the laser is on a low power although this is supposed to be safe.
Once you've done your tests, checked out the differences in cutting and carving techniques. You'll also need to become familiar with the settings used between materials, after a fair bit of experimentation the Ortur then comes into its own.
There is quite a learning curve with the Ortur, many of the advanced features that I've come to expect from laser cutters, CNCs and 3D printers aren't available here, it's all a little more hands-on.
However, for all the simplicity this machine has potential, once set up it's easy to use and understand. The open-source software is very good and Ortur supply the customisations to make your life a little easier.
Overall a surprisingly good machine for an incredible price.
- We've also highlighted the best 3D printer
from TechRadar: Technology reviews https://ift.tt/31ZQC7a


No comments:
Post a Comment